Cleaning your speakers doesn’t have to be complicated or risky. This blog post highlights a safe DIY method to clean your speaker with a toothbrush, making it easy to remove dust and debris effectively. It begins with an introduction to safe speaker cleaning methods while emphasizing the importance of gentle techniques to avoid damage. The article provides step-by-step guidance on how to clean dust from your speaker effectively, ensuring optimal sound quality. Additionally, expert tips on using a toothbrush properly with speakers are shared to maximize the effectiveness of your cleaning process. Finally, actionable takeaways for DIY speaker cleaning offer readers practical advice they can implement right away. With these methods in hand, you can safely clean your speaker with a toothbrush and keep your audio experience crystal clear.
Introduction to Safe Speaker Cleaning Methods
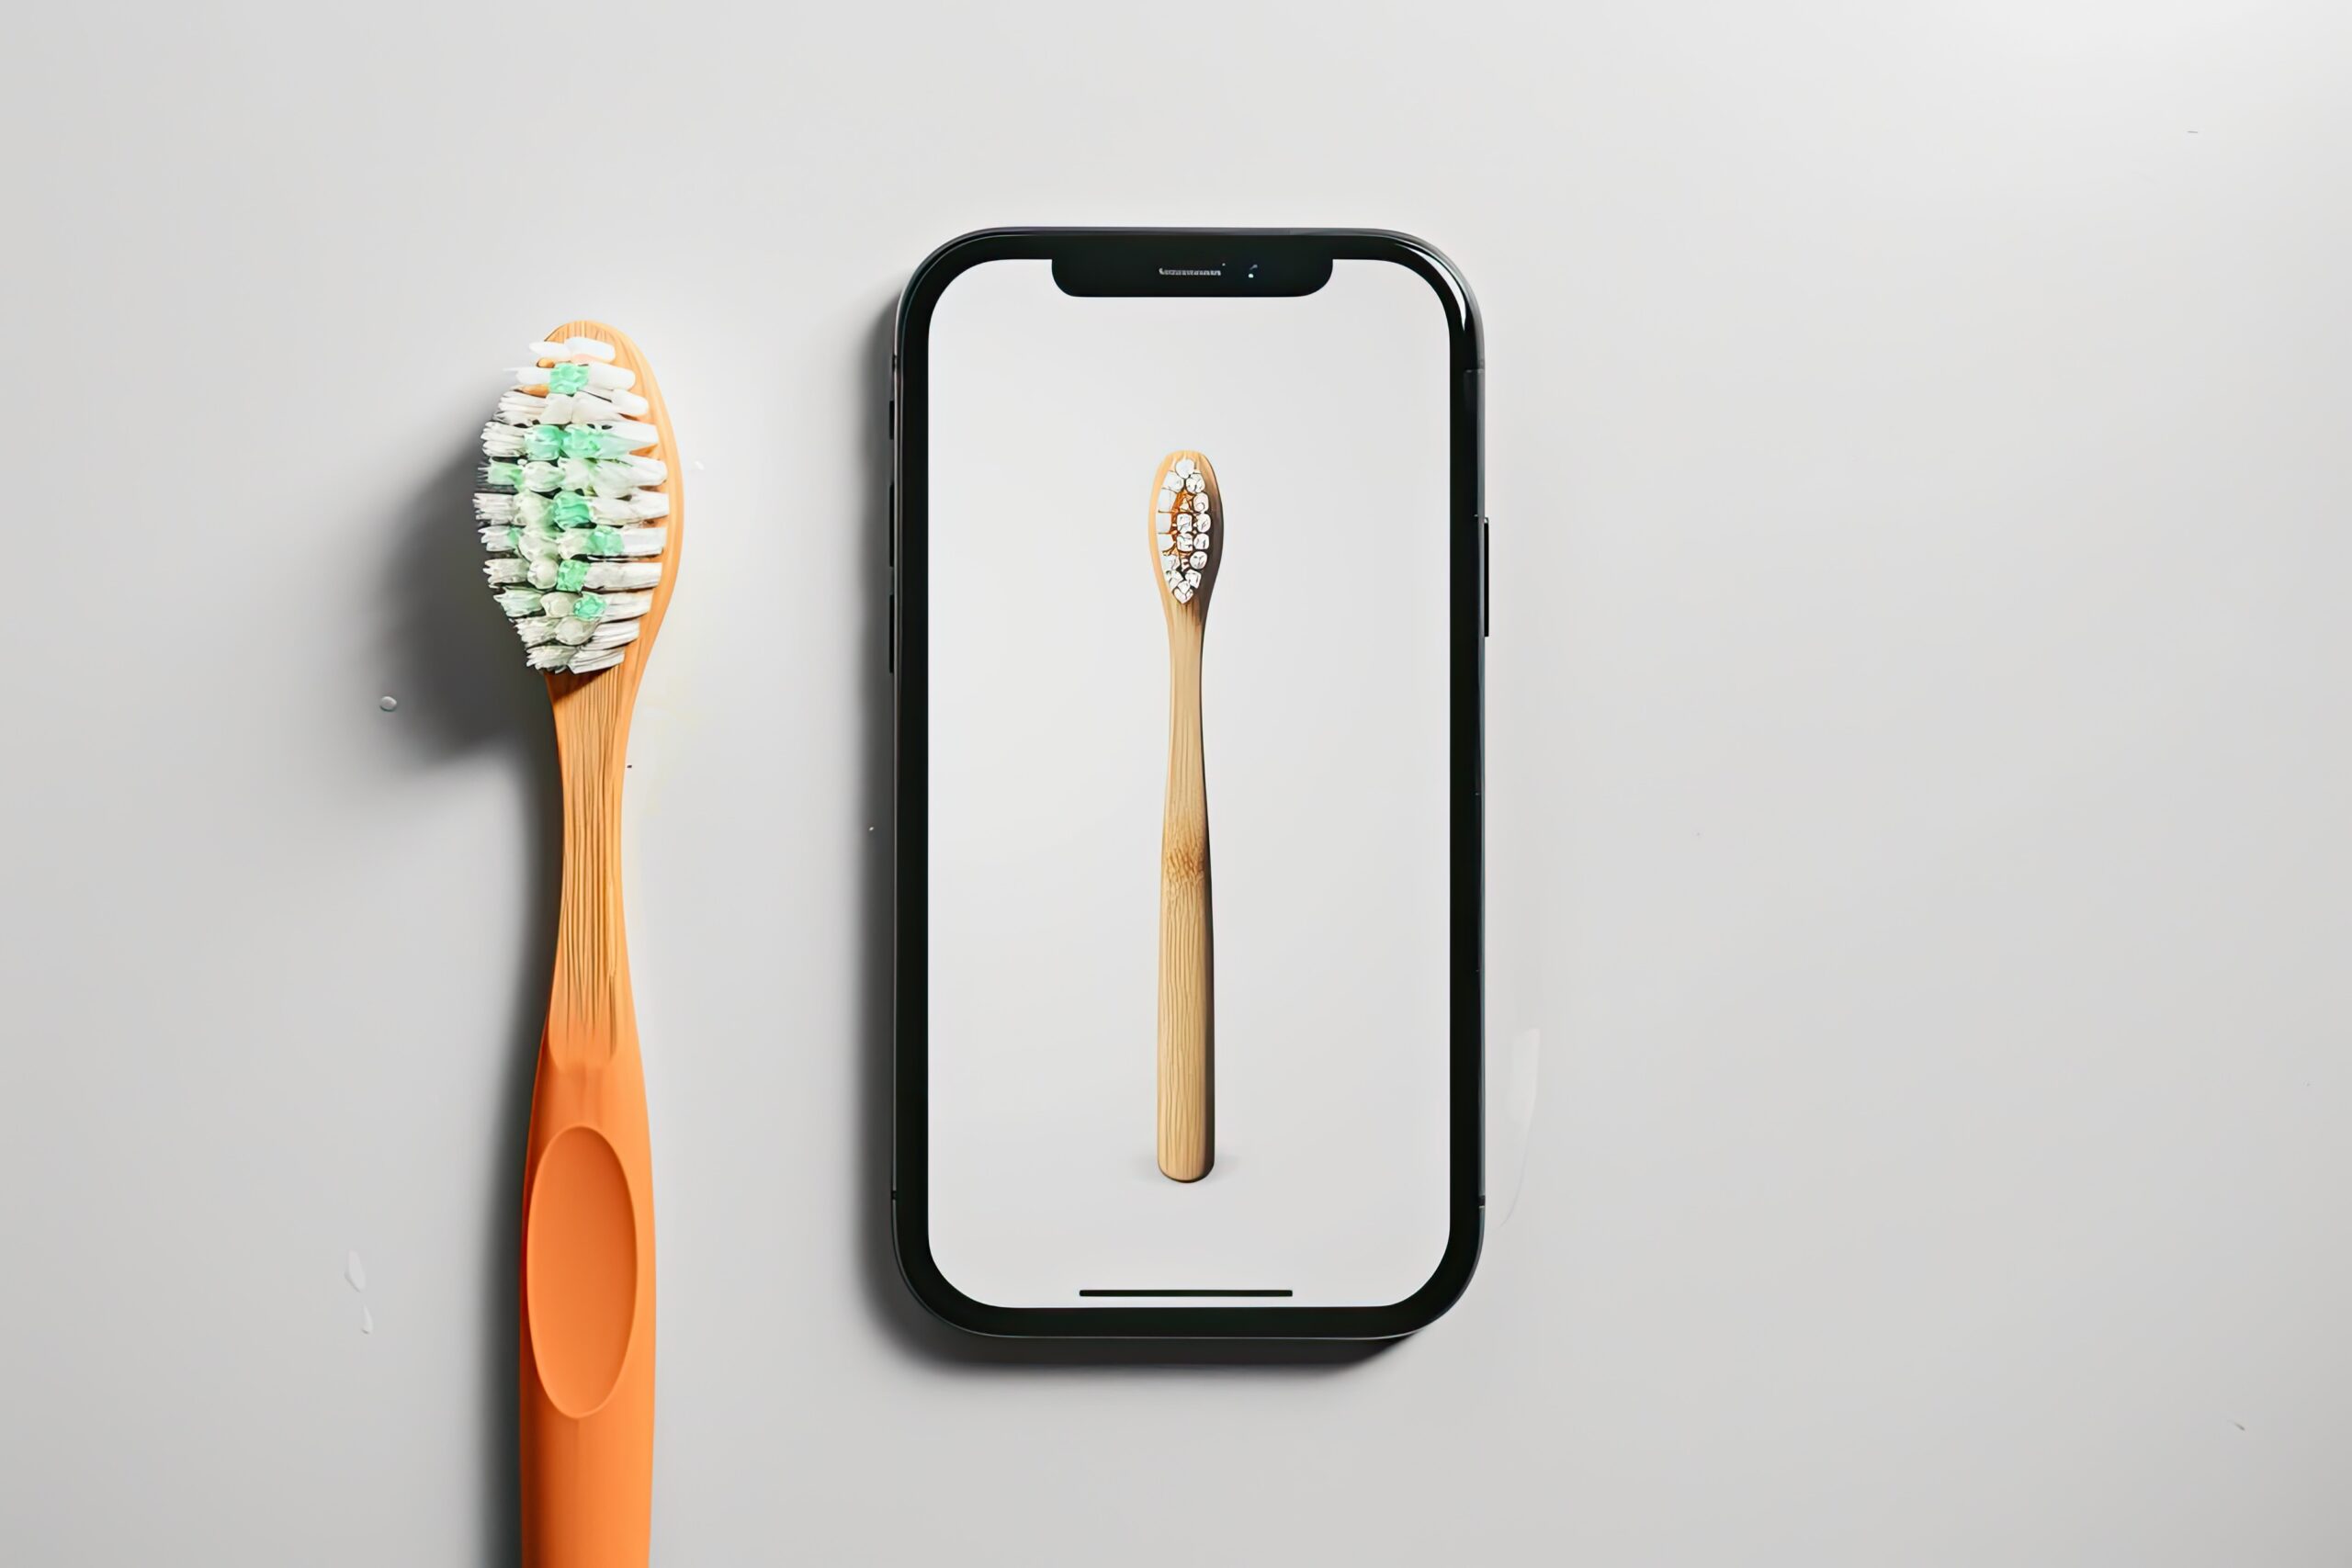
Cleaning your speakers is an essential part of their maintenance, ensuring that they function optimally and provide you with the best sound experience. One of the most effective and safe speaker cleaning methods involves using a simple tool you probably have at home: a toothbrush. By employing a DIY speaker cleaning approach, you can remove dust and debris without risking damage to delicate components. This method not only enhances sound quality but also extends the lifespan of your speakers.
Key Benefits of Cleaning Your Speakers
- Improves sound quality by removing blockages.
- Prevents the accumulation of dirt that may harm the speakers.
- Enhances aesthetics, keeping your speakers looking brand new.
- Reduces the likelihood of malfunctions caused by dust.
- Ensures better airflow around the speaker components.
When you clean your speaker with a toothbrush, it’s important to ensure that you do so gently and carefully. Using a soft-bristled toothbrush allows you to reach tight spots and remove particles without compromising the integrity of the speaker materials. This safe speaker cleaning method is not only effective but also practical, making it a go-to choice for audiophiles and casual users alike. Embrace the ease of DIY speaker cleaning and enjoy the superior sound quality that comes with it.
How to Clean Dust From Your Speaker Effectively

Maintaining the clarity of sound from your speakers is essential, and one of the simplest ways to achieve this is by learning how to clean dust from speaker surfaces effectively. Dust accumulation can muffle sound quality and may even damage your speakers over time. By utilizing a toothbrush, an everyday household item, you can safely remove dust and debris without risking harm to delicate speaker components. This method, often referred to as the toothbrush audio hack, is not only effective but also budget-friendly.
| Speaker Component | Common Dust Issues | Recommended Cleaning Frequency |
|---|---|---|
| Grill | Visible dust accumulation | Monthly |
| Driver | Debris affecting sound quality | Every 3 months |
| Crossover | Dust affecting performance | Every 6 months |
| Cabinet | Surface dirt and dust | Biannually |
Regularly cleaning your speakers can enhance their longevity and performance. One of the most effective methods is to combine a toothbrush with gentle cleaning techniques to ensure that you don’t damage the speaker. Begin by assessing the state of your speakers and determining the best places to target your cleaning efforts. Remember, using the right tools is essential in ensuring a thorough yet safe cleaning process.
Tools Needed
To begin cleaning your speakers using a toothbrush, gather the necessary tools. You’ll need:
- A soft-bristled toothbrush
- Microfiber cloths
- A vacuum cleaner with a brush attachment
- Isopropyl alcohol (optional for deeper cleans)
Steps for Using a Toothbrush to Clean Speaker
- Turn off and unplug the speakers to ensure safety.
- Use the vacuum cleaner with a brush attachment to remove loose dust from the surface.
- Gently brush the grille and surrounding areas with the soft-bristled toothbrush.
- For stubborn dust in crevices, lightly moisten the toothbrush with isopropyl alcohol.
- Wipe down any remaining surfaces with a microfiber cloth.
- Inspect the speaker to ensure all dust has been removed.
- Reconnect and power on the speakers to enjoy enhanced sound quality.
While cleaning your speakers is vital, it’s equally important to observe a few precautions to ensure safety and preserve your equipment.
Precautions to Take
Before you start cleaning, always take necessary precautions to protect both your speakers and yourself. Here are some guidelines to follow:
- Avoid using excessive moisture, as it can damage electrical components.
- Never apply direct pressure on speaker cones, as this can distort sound.
- Ensure your cleaning tools are free from dirt to prevent scratches.
Remember, routine cleaning can make a significant difference in your speaker’s performance, ultimately prolonging its lifespan and maintaining sound fidelity.
Expert Tips for Using a Toothbrush With Speakers
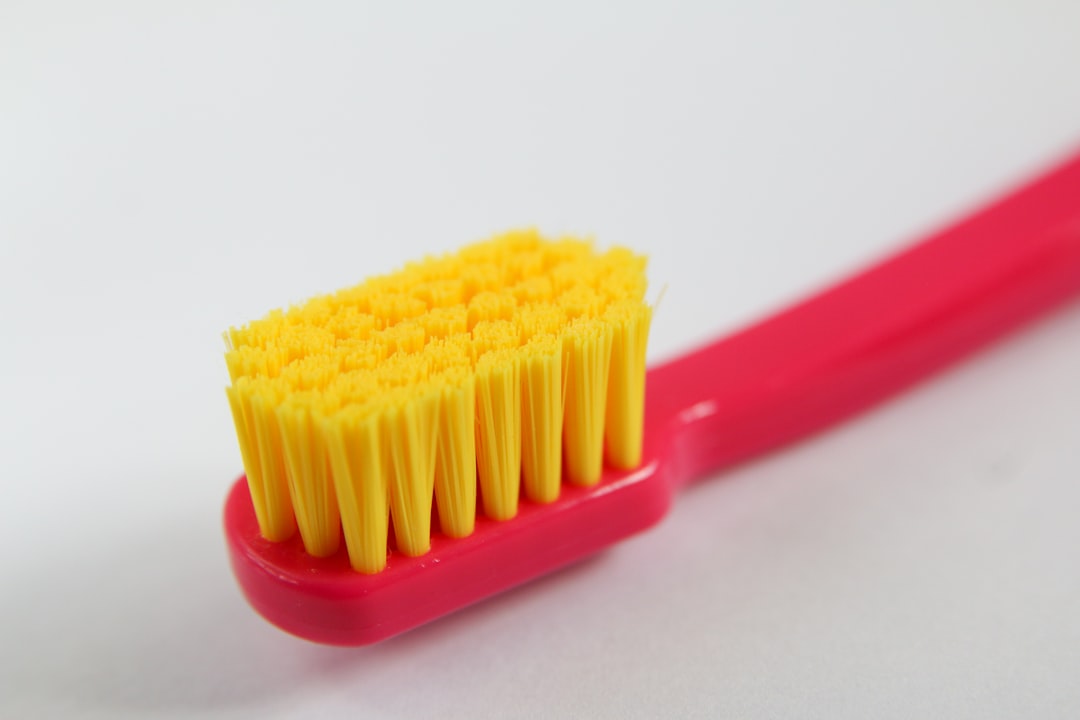
Utilizing a toothbrush for cleaning your speakers can be an effective method, provided it’s done with caution. The bristles of the toothbrush are ideal for reaching small crevices and delicate components without causing damage. Be sure to select a toothbrush with soft bristles to prevent scratches and unnecessary wear on sensitive parts of your speaker. Always remember to turn off and unplug your speakers before cleaning.
Top Recommendations for Safe Cleaning
- Choose a soft-bristled toothbrush for gentle cleaning.
- Ensure the toothbrush is dry to avoid moisture damage.
- Use light pressure to remove dust without harming the surface.
- Clean small areas at a time to maintain control.
- Consider using a compressed air canister for particles lodged deeper.
- Regularly inspect your cleaning tools to ensure they are not worn out.
- Dispose of any accumulated debris safely after cleaning.
After you have completed the initial cleaning, it’s advisable to perform a thorough visual inspection of your speakers. Check for any residue or areas that may need additional attention. If necessary, you can lightly dampen a cloth with a suitable cleaning solution, but never spray directly on the speakers, as this can lead to severe damage. Use the toothbrush to gently dislodge any remaining dirt without over-saturating any part of the speaker.
By following these expert tips, you’ll ensure a safe and effective cleaning experience for your speakers. The goal is to maintain their performance while enhancing their lifespan through regular maintenance. Remember, when in doubt, always err on the side of caution to prevent unintentional harm to your audio equipment.
Actionable Takeaways for DIY Speaker Cleaning
After you’ve learned the safe methods for cleaning your speakers, it’s crucial to keep them well-maintained to ensure optimal performance. Regular cleaning not only enhances the sound quality but can also extend the lifespan of your speakers. Using a toothbrush can be particularly effective due to its gentle bristles which can reach the crevices that standard cloths cannot. Always remember to proceed with caution and avoid using too much pressure.
Next Steps to Maintain Your Speakers
- Inspect speakers for dust buildup on a monthly basis.
- Use a soft brush or compressed air regularly to keep grille and driver areas clean.
- Wipe the cabinet with a microfiber cloth to prevent scratches.
- Avoid placing speakers near heat sources or in humid areas.
- Consider using speaker covers when not in use to minimize dust exposure.
- Check connections and cables to prevent sound distortion.
- Schedule a deep clean every few months for best results.
By following these steps, you’ll ensure that your audio experience remains immersive and enjoyable. Regular maintenance will not only help maintain clarity in sound but also protect your investment. Remember that a clean speaker is a happy speaker, so put these actionable takeaways into practice and enjoy high-fidelity sound for years to come.
Frequently Asked Questions
Can I really use a toothbrush to clean my speakers?
Yes, using a soft-bristled toothbrush is an effective and safe method for cleaning dust and debris from your speakers without damaging them.
What makes a toothbrush a good tool for speaker cleaning?
A toothbrush has soft bristles that can gently remove dust and dirt from surfaces without scratching or harming sensitive components of your speaker.
Are there specific types of speakers that are more suitable for cleaning with a toothbrush?
Most speakers can be cleaned with a toothbrush, but it's especially effective on those with fabric or mesh grills where dust tends to accumulate.
Is it safe to clean the electrical components of my speaker with a toothbrush?
No, it's important to avoid contact with electrical components. Focus on the outer surfaces and grills where dust collects.
What other cleaning supplies do I need besides a toothbrush?
Aside from a toothbrush, you may want a microfiber cloth and some mild cleaning solution or water for deeper cleans, but be cautious near electrical parts.
How often should I clean my speakers with a toothbrush?
It's recommended to clean your speakers every few months or as needed, depending on the accumulation of dust in your environment.
Can I use a wet toothbrush for cleaning my speakers?
It's best to use a dry toothbrush for dusting. If you use a wet toothbrush, ensure it’s only slightly damp and that no moisture reaches the electrical components.
What should I do if I notice any grime or stains on my speakers?
For grime or stains, gently scrub with a damp microfiber cloth and a mild cleaning solution, but avoid any direct contact with the speaker’s electrical parts.
Are there any risks involved with cleaning my speakers myself?
The main risks include damaging sensitive parts if moisture gets inside or using excessive force. Always clean gently and avoid electrical components.
What are the best practices for maintaining clean speakers long term?
Regular dusting with a soft brush, keeping speakers covered when not in use, and avoiding exposure to moisture will help maintain their cleanliness and longevity.